Here you will find, step by step, a manual for installing a GSM amplifier. In 4 simple steps you will easily and quickly assemble an N connector. There is nothing complicated, it's just a matter of performing the assembly sequence of the different elements of the N connector correctly. Read more:
- 1. What tools should I use?
- 2. Cutting and stripping the coaxial cable.
- 3. Preparing N-male connector.
- 4. Mounting the N connector on the coaxial cable.
There are two main scenarios in which it is necessary to manufacture your "coaxial cable."
- "custom" wiring (saving measure or control of signal loss in the cable).
- the pre-assembled connector is too thick to pass through an existing pipe or hole.
Every N connector in our range can be attached without crimping. So it is very easy to customize your GSM booster cable. If you prefer the N crimp connector, it is also available. Please contact us about this before placing your order.
1.What tools should I use?
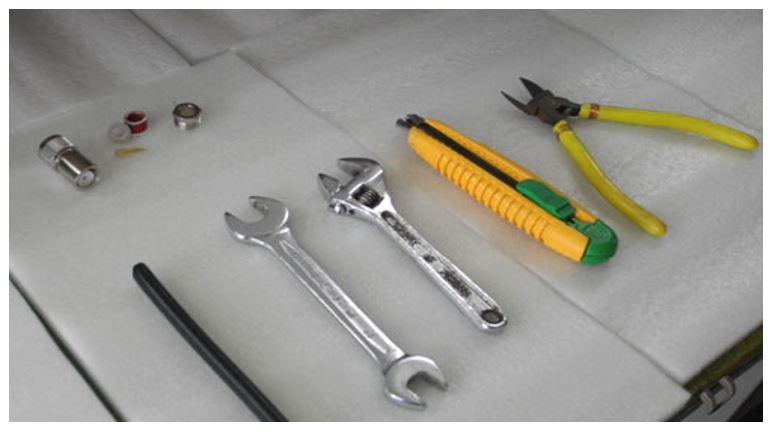
- A stripper
- A cutting knife
- A nut wrench
- A flat key
2. Cutting and stripping the coaxial cable.
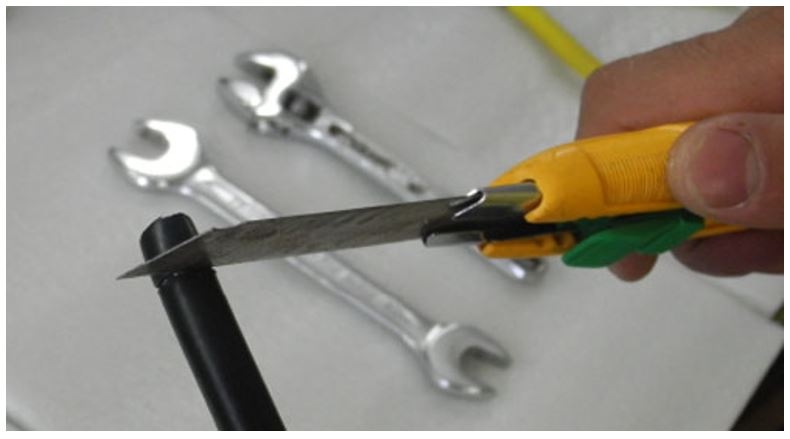
Start by cutting the coaxial cable to the desired length for your cell phone repeater. Cut appropriately to make a clean cut. Deburr, if necessary.
Strip the outer jacket of the coaxial cable, 8 to 10 mm from the end. Be careful not to damage the ground wire of the coaxial cable when removing the sleeve!
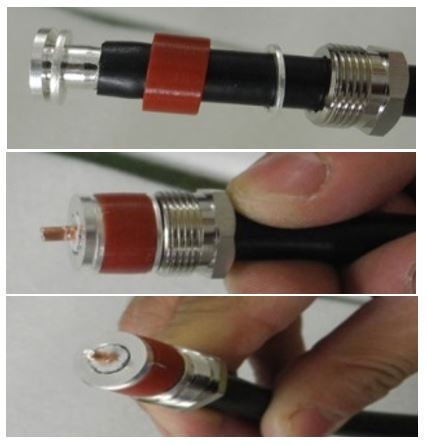
Prepare the core and braid of the cable as shown.
Carefully grind the braid to make the conductor insulation (the middle conductor of the coaxial cable) accessible, then strip the insulation of the middle conductor 5 mm.
3. Preparing N-male connector.
This is what a disassembled N-connector looks like:
It is a good idea to arrange the different elements of the N-connector before starting assembly: you will save valuable time and avoid making mistakes in this order:
- Rear locking screw
- Pressure washer
- Rubber ring
- Cradle for the braid (and the pressure washer)
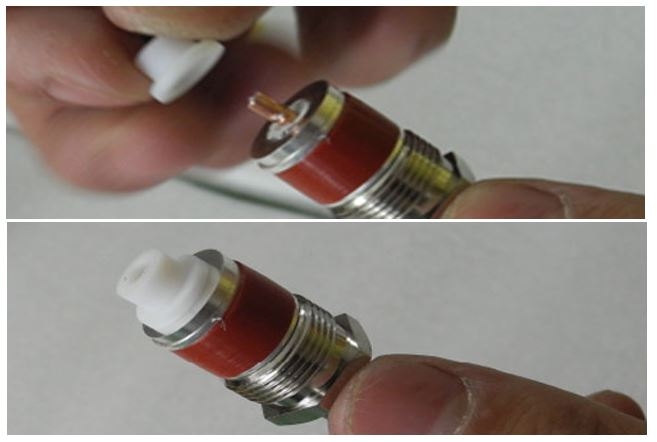
- Contact insulator for core tip
- Pin
- Main part of the N connector
4. Mounting the N connector on the coaxial cable
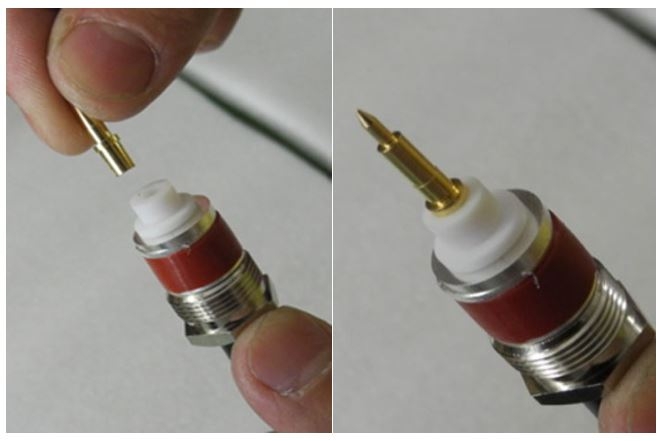
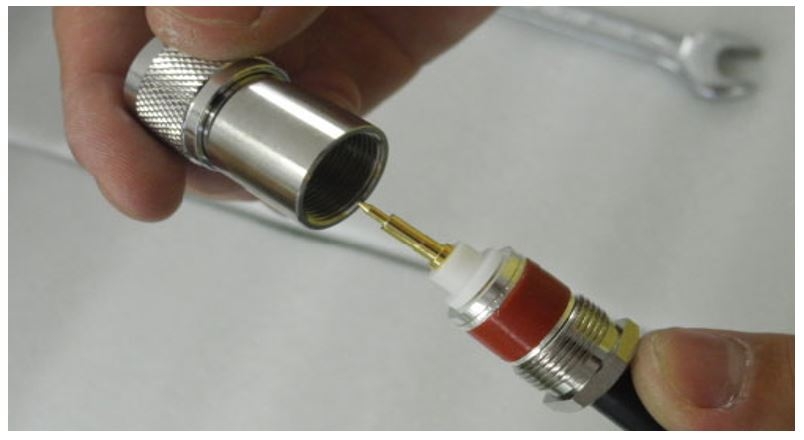
You can now proceed to assemble the elements, in the order listed above.
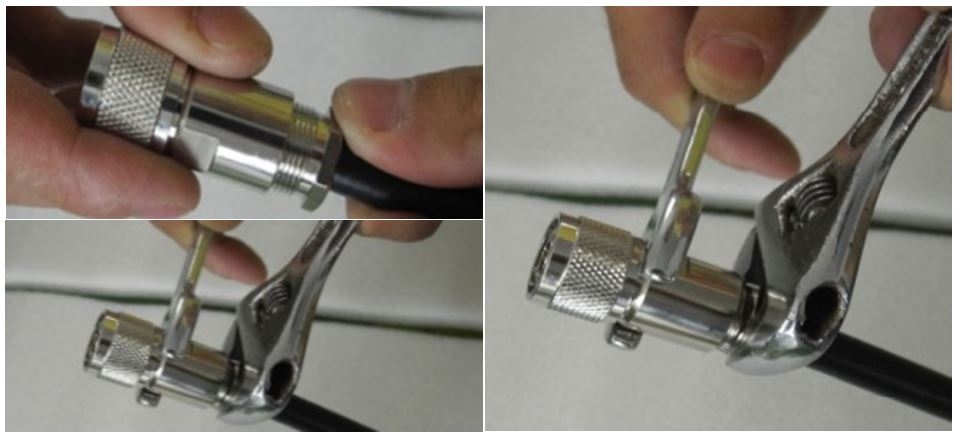
Instead of a long speech, just follow the steps in the images:
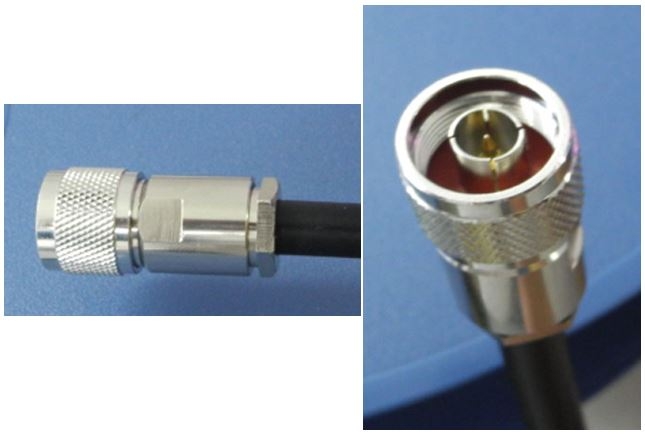
And here is the end result, once the connector is locked:
Note: The tip of the core must be soldered to ensure good contact. A weld, especially in the long term, will prevent the development of oxidation between the conductor and its tip. This step is not illustrated in pictures.
Once all elements are assembled, everything still needs to be locked in place by aligning the rear screw on the main body of the N connector. Use the socket wrench and the adjustable wrench to do this. There is no need to force the fit - when the fit becomes blocking (it's a distinct feeling), you're ready to go.

